
Z Axis Installation

This is easy, but it's nice to have a bit of a guide. In my case, no matter how obvious something appears, I can't help but wonder if I'm missing something subtle. In this case, it really is as easy as it looks.


Use the same routine as you would on a car wheel. Put all the screws in loose, then tighten them up a bit at a time while working the Z axis to seat as cleanly as possible before going around and doing a final tightening.
The Name Boards
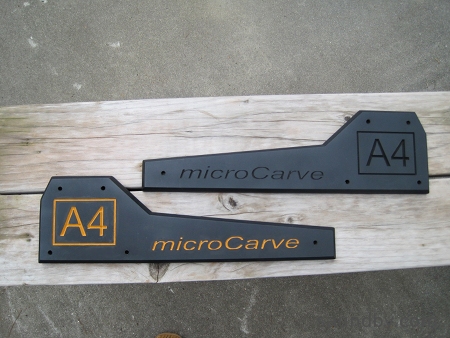
Before and after I customized the painting on my sideboards. I painted the second board after this picture was taken.
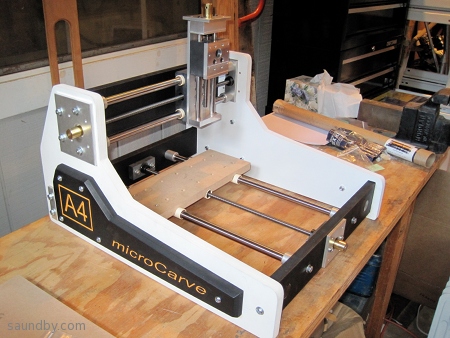
There are five screws with nuts for each name board. I've customized the paint job on my boards a bit, as you can see. These screws can be snugged down. Installing these boards is optional from a structural standpoint. But the machine will look cooler, and the breeze will blow over it more smoothly, once you put these babies on it.
Next Steps
The final mechanical steps are mounting the motors, the spindle, and the spoilboard (make more of these, while the first one's intact.) To some degree, these will be specific to your setup. John has motors, a spindle, and a spindle mount he suggests on the basis of their past successful use.
I'll detail my motor mounting soon, it'll be pretty much the same for any NEMA 23 size motors. For a spindle, I'm using a home made mount and an inexpensive imported router while I learn my way around my CNC. I'll detail these soon, too.
Stay tuned for more!